PUTTING THE “WOW FACTOR” INTO YOUR PAINTINGS WITH ACRYLIC SKINS
by Fran Mann Goodman
(I teach abstract expressionism so when a student once asked me what I meant by the WOW FACTOR related to acrylic skins, I told her I really wasn’t sure. I only knew when folks viewed my paintings with the dried pieces of acrylic paint fastened to them, often their reaction would be “WOW!!” I never knew if that was a good thing or a bad thing, but since abstract expressionism is all about creating feelings and emotions, I figured if I moved them either way, I succeeded.)
I first discovered acrylic skins in Larry Poon’s master class at the Art Students League back in 2013. I had been working on a canvas for weeks that I felt called for molding paste, pumice gel, and gel gloss. That day, when I arrived, I prepared my workspace and then went to take from my tote bag the three mediums, but all I could find was the gel gloss. Frustrated, I started rummaging through the bag looking everywhere for the other two, but to no avail. Then, hidden in a side pocket, I spied a folded piece of disposable palette paper with a fair amount of dried yellow paint on it. (Ordinarily, thinking the dried paint was worthless after one use, I would have thrown away the palette paper).
An edge of the dried acrylic paint had come loose. Curiosity over what would happen if I peeled off the entire piece turned into a surprise that I could also bend and shape the paint and then glue it to the canvas with the gel gloss.
The painting eventually became “Flight of the Cadmium Yellows,” and was exhibited in a gallery in Manhattan. An observer who had exclaimed “WOW” at its sight, interpreted the design of the skins as “mini rockets invading a group of strange looking souls desperate to escape.”
I have since experimented with countless ways to work with acrylic skins. To me, these wonderous plasticity elements act as the embellishment for my paintings much like a baker embellishes a cake with floral swirls. This means I have the composition of my painting in place when I add the skins — the colors already on my palette.
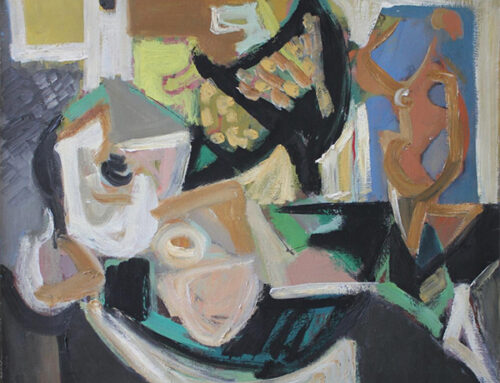
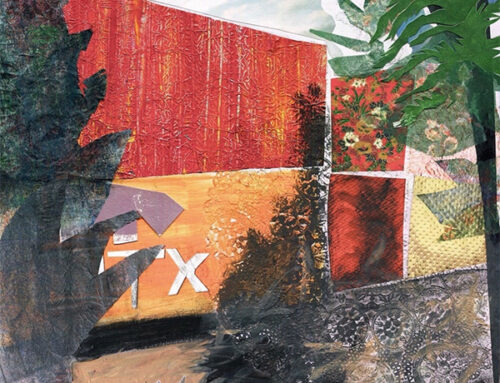
Jewel Mountain, acrylic on canvas, 40 in. x 30 in.
I will put on my teacher’s cap and give you the “how to’s” I give my students that I can guarantee garner great results:
- Work with either heavy body acrylic paint or fluid acrylic paint, alone or with a pouring medium. Optional but fun is to mix into the paint sand, glass beads, string, and a slew of different mediums. Sometimes I add pumice gel or molding paste.
- Apply the paint on a non-porous surface like glass, freezer paper, wax paper, parchment paper. Best for me is shiny, disposable palette paper.
- For heavy body, deposit a decent amount with a palette knife or a similar type of applicator. I discourage a paintbrush as it often doesn’t hold the weight, resulting in a very thin skin. With fluid acrylic paint, squirt it onto the surface.
- Note: the weight of the application will determine the density of the skins. I have found a thin application renders smaller skins that can be layered on top of larger ones. Thickly applied paint may render skins that won’t easily bend and shape but can still work into a great design. Best to be somewhere in the middle.
- The paint must be completely dry before attempting to peel it off the surface. I usually wait at least 24 hours, depending on the weight.
- To peel, start by dislodging a small section with your fingers or palette knife. Gently tug loose the rest of the area, trying to keep it contained. The larger the piece, the more you will have for your design.
- One side of the skin may differ from the other, giving you two options for your design. This can only happen when multiple hues of paint were applied to your surface to begin with.
- Now for the design of the skins (provided you have composed your painting). At this point, the canvas should lie flat on the table.
- Some suggestions: texturize with various mediums and fabrics; tear a hole so the background can show through; layer small pieces on top of big pieces; bunch the skins together — what I often do.
- Always tear rather than cut with a scissor. The jagged edges render their own aesthetic appeal. You can also bend and shape the skins, resulting in folds and creases which add dimension.
- While you are figuring out your design, take photos. This way you have a reference should you move elements around and then decide to go back to the original.
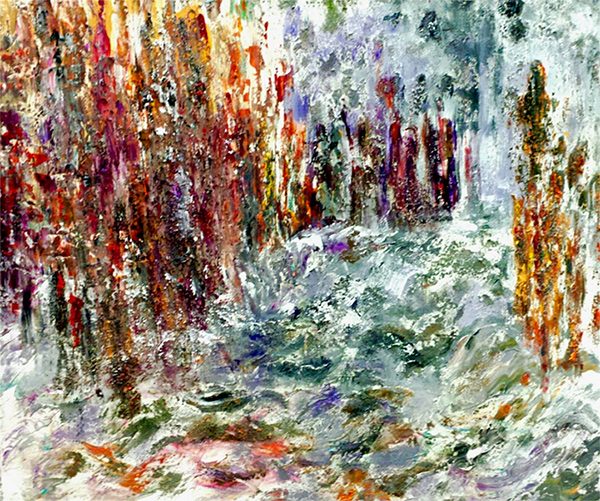
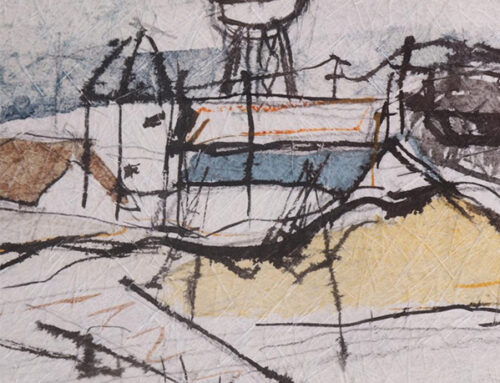
Flight of the Cadmium Yellows, before adding skins
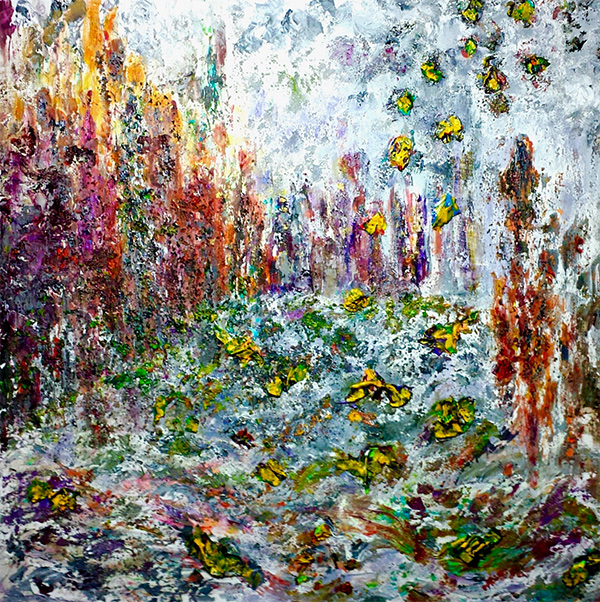
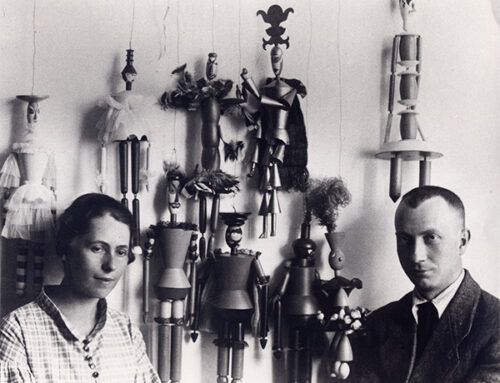
Flight of the Cadmium Yellows, Acrylic on canvas, 36 in. x 36 in.
- When you are ready to glue down your design, work with one skin at a time. Apply the gel gloss (which has a gluing agent in it), to both the canvas and the underside of the skin. Don’t be concerned if the gloss shows. Any residue will disappear when it dries. I prefer this medium to other gluing agents as the others may turn yellow in time.
- The skins will also grab on to your canvas if the area has wet paint on it. When I take this approach, I still run the gel gloss along the edges.
- After you have glued the skins to the canvas, press down with something heavy to hold them in place. I use the handle of a paintbrush. (I usually wait a few days and then re-glue the edges. And I always re-glue them before exhibiting a painting for public viewing.)
- At this point, you can paint the edges, folds, and creases. I like to highlight with gold or silver or a metallic. You can also paint over the skins and completely change the colors.
- Lastly, often after the skins have thoroughly adhered to the canvas, which could be days later, you might want to pull one or more off the canvas. The residue can create its own aesthetic interest.
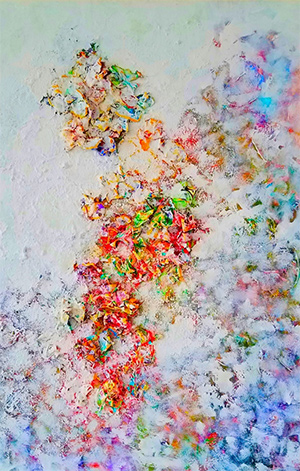
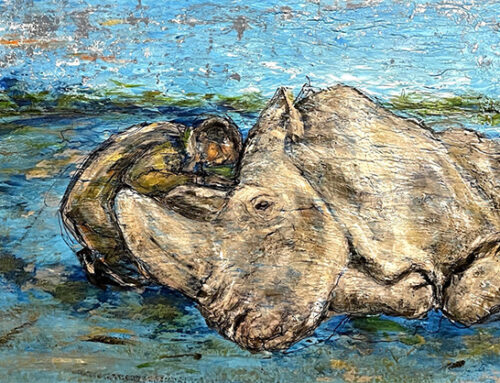
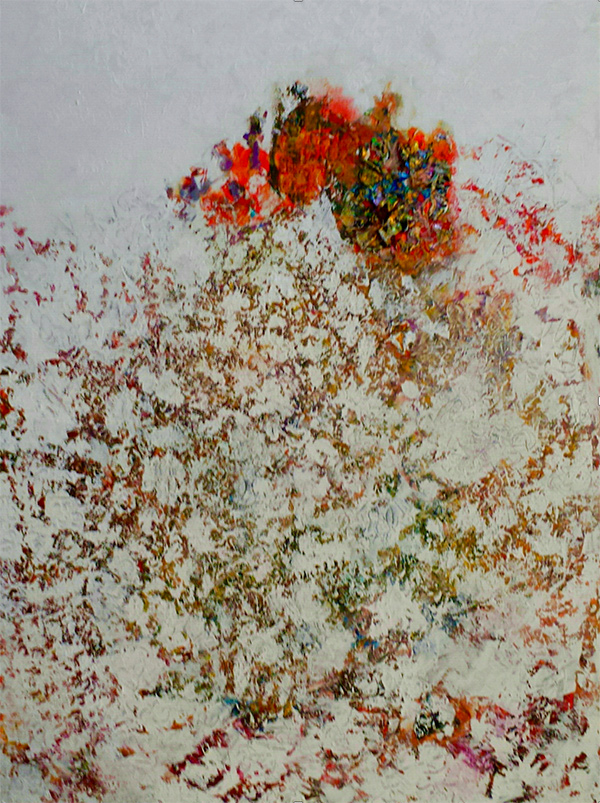
Snowberries, acrylic on canvas, 36 in. x 24 in.
You have just learned about my approach to getting the WOW FACTOR into your paintings. There are endless others, as many as your creativity can conjure up. And about my not being sure what this WOW FACTOR really means…I am confident that once you try this fantastically fun and easy technique and folks view the results, you will have the answer.
If you want to see more of Fran’s innovative technique, please visit her website at: